
As a participant in the Amazon Services LLC Associates Program, Rooted Reminders may earn a commission from qualifying purchases made through our links. This does not affect your purchases or the price you may pay, but helps support our site and our love for gardening. We thank you for your support!
Ah, seeds! They might be tiny, but these little marvels are the beginning of something great – like a lush green garden or your indoor jungle.
If you’re eager to plunge your hands into the soil and start growing your own plants from seed, you’re in the right place!
Let’s cover the sometimes tricky art of starting seeds indoor and how to nurture seeds into thriving plants.
Key Takeaways
- Timing and understanding seed packets are key to successful indoor gardening
- You’ll need seeds, containers, starting mix and a light source to get started
- Water wisely, thin out weaker plants & harden off before transplanting outdoors for optimal growth
- Not every seed needs to be started indoors. Some things like carrots, peas, spinach, radish, and more can be sowed directly into the ground outdoors.
Timing Your Seed Start
To start seeds indoors, most seeds should be planted well before the last expected frost date in your area.
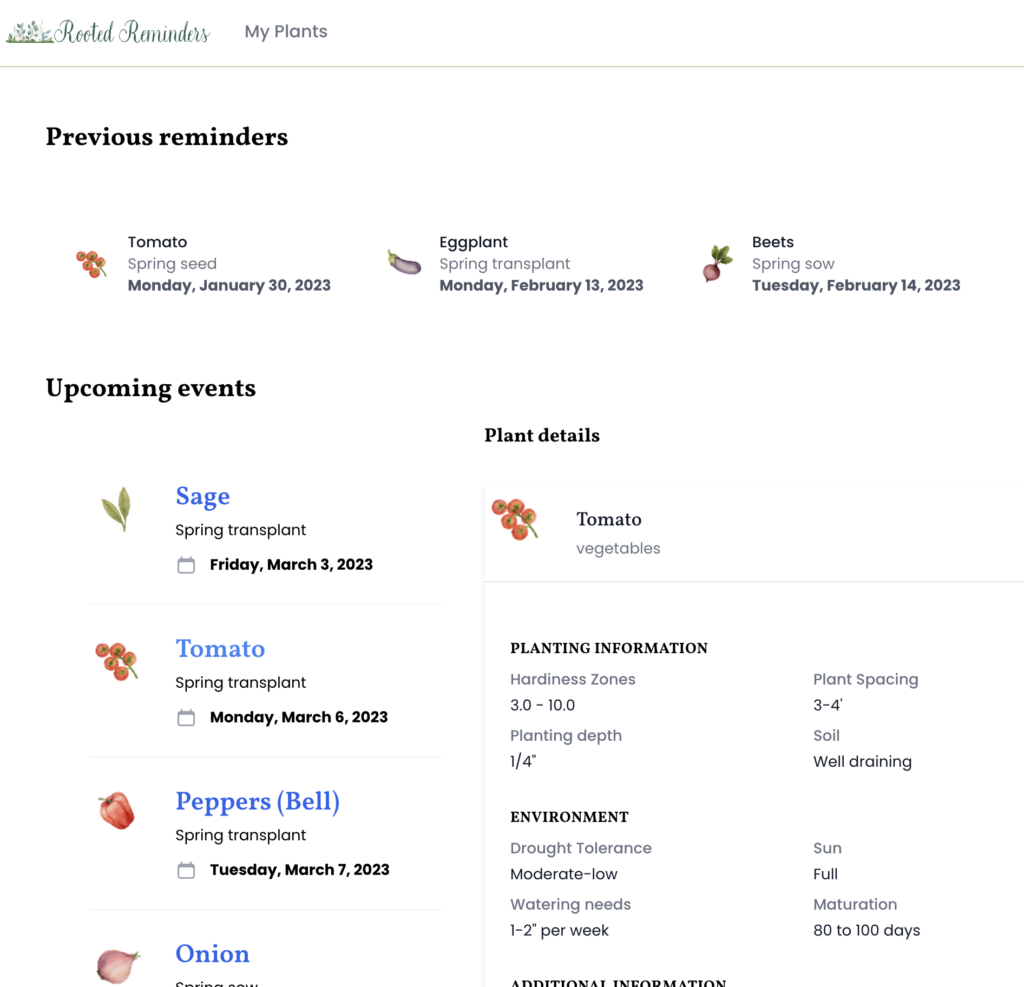
Finding your frost and best seed starting dates
You might wonder how to determine this frost date. Rest assured, it’s easier than it appears.
One is to google it. Duh. The other is to use Rooted Reminders, plug in your zip code, and it will then give you seed starting dates for every seed packet you have, based on your zip.
Did you know that to get a good start, peppers need to be planted months before your last frost? Meanwhile, sunflowers only need a couple weeks before it?
Timing your move from indoors to outdoors
Once the seedlings have developed enough strength, they are ready to be relocated outdoors. The timing of this move depends on how far they are from the last expected frost. It can also depend on if it’s adequately warm outside to start hardening them off, if an unexpected or late frost may occur, and how strong your seedlings look.
Consider indoor seed starting as a relay race where appropriate timing paves the way for your seedlings’ successful growth towards full bloom.
Understanding Your Seed Packet
Having established the correct timing, we can now explore the realm of seed packets. These compact packets are packed with essential information. Think of them as secret manuals to your plants’ success.
The seed germination time noted on the packet aids in structuring your gardening schedule by providing an estimate of the seed growth onset period.
But there’s more! The seed packet also guides you on the depth at which you should plant the seeds. Most seeds need to be planted at a depth of two to three times their width. However, this varies, so always follow the instructions on the packet.
You might wonder why some packets recommend starting seeds indoors. Starting seeds indoors offers several benefits:
- It gives the plants a head start
- It helps them grow larger and yield better harvests
- It extends the growing season
- It can save you money by growing plants from seeds instead of buying seedlings.
Gathering Your Seed Starting Essentials
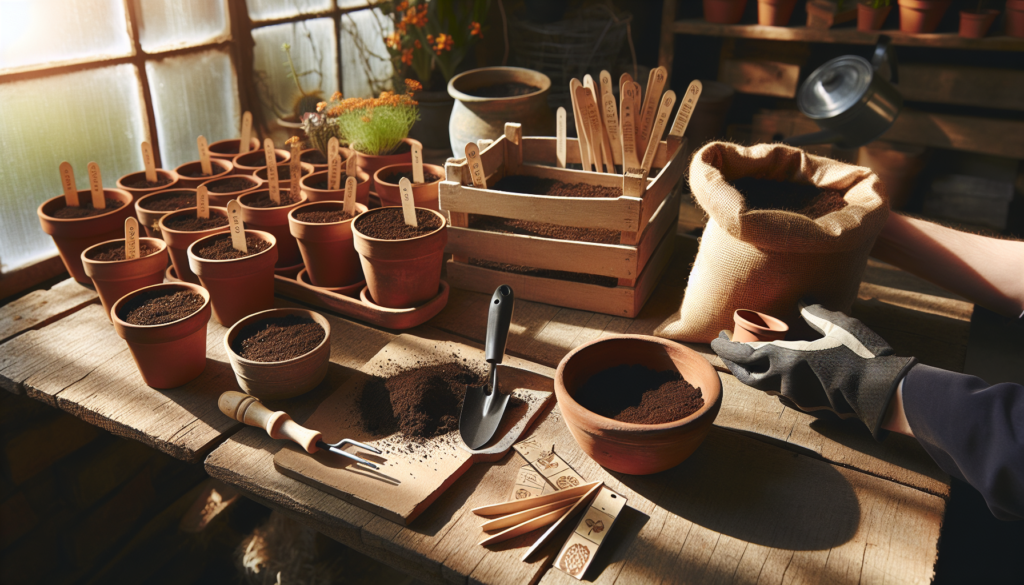
Armed with your seed packets, you can now assemble your seed-starting necessities. Consider this as building your gardening toolkit. You’ll need some seed-starting mix, containers, and a strong light source to start seeds growing. But there’s more to it than just collecting these materials.
We will focus on three key elements: choosing appropriate containers, selecting the right seed starting mix, and mastering seed labeling.
Choosing the Right Containers
The initial step in building your toolkit involves selecting suitable seed starting containers. These humble homes for your seeds play a critical role in their growth. The best containers for starting seeds indoors are seedling trays with individual cells. It’s better to use containers that house one seedling per cell rather than larger ones with multiple seeds.
You can find cheap ones from garden centers. You can also find a more solid tray that is reusable if you see yourself doing this for a long time (trust us, we’ve gone through a lot of cheap ones and this is worth the investment).
Another thing is to find individual containers you can plant seeds in. I’ve put seeds in everything from those clear plastic takeout containers, old protein powder tubs, and random packaging that looks like it could support a single seedling. Just don’t forget to add drainage holes otherwise they be more susceptible to root rot.
Containers for sensitive seedlings
But what about seeds that don’t do well with transplanting or require special care? Fear not! Biodegradable pots made from peat or cow manure are perfect for sensitive plants like cucumbers and squash. For starting seeds of onions and leeks, large flats work well as they handle transplantation even when they’re young. Biodegradable containers, crafted from organic materials, decompose in the soil, enriching both the seedling roots and the soil quality.
Selecting a Seed Starting Mix
Selecting an appropriate seed starting mix is equally important as finding the right container. Seed-starting mix is a special potting mix designed for starting seeds. It’s:
- free from organic matter that can cause fungal issues
- sterile
- light
- holds moisture well while providing proper drainage.
Commercial seed-starting mixes typically consist of vermiculite and peat, excluding any real soil. This combination offers the perfect texture and porosity for seeds to sprout and tiny seedlings to grow.
But remember, not all mixes are created equal. Avoid peat-based mixes if possible, and steer clear of outdoor soils as they can be too heavy or compacted for delicate seedling roots and may harbor pests or diseases.
You may also want to avoid reusing soil from last year, as it is typically not sterile and may pose a risk to delicate new seedlings.
Labeling Your Seeds
With your containers and seed starting mix prepared, the next step is to label your seeds. This might seem like a minor detail, but it’s pivotal when you’re planting a variety of seeds. Labeling helps you remember which seed is growing where—a crucial piece of information when nurturing your seedlings!
You can use a variety of materials like vinyl or plastic window blind slats, copper plant tags, or even a permanent marker pen.
If you prefer a DIY approach, mini flags created with toothpicks, sticker labels, or even clear tape for protection are effective.
You can also use colorful plastic plant tags, which can be reused every year. A good tip is to write down the plant name and the date sown on your labels, ensuring you keep track of your seedlings’ growth.
Preparing the Planting Environment
Once you’ve gathered your essentials, the next step is to create the ideal environment for your seeds germinate.
Just like we thrive in a comfortable and nurturing environment, seeds need a conducive environment to germinate and grow. This involves moistening the seed starting mix and setting up grow lights.
Let’s further examine these two vital steps.
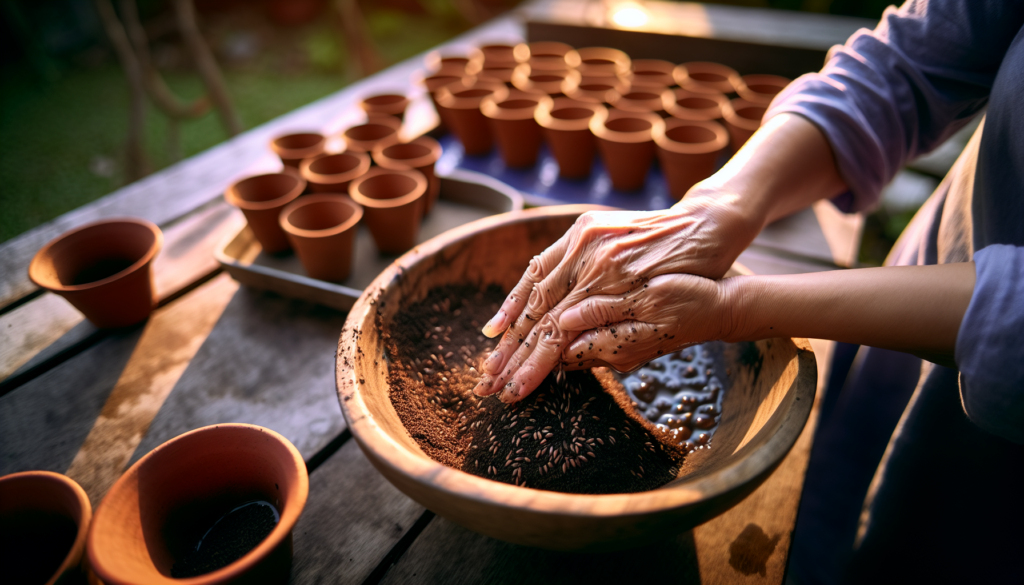
Moistening the Seed Starting Mix
Prior to filling your containers with the seed starting mix, it’s vital to dampen it. Moistening the mix ensures that the seeds get the right amount of moisture for germination. If the potting mix is dry, the seeds may not be able to soak up water properly, which can slow down or halt germination. So, how do you ensure an evenly moist mix?
You can either spritz the mix with a spray bottle, which changes the surface tension and improves water absorption, or gradually add water while stirring by hand. To check if the mix is evenly moist, you can set your containers in shallow trays of water for a few minutes until the surface is moist. Remember, the goal is a moist—not soggy—seed starting mix.
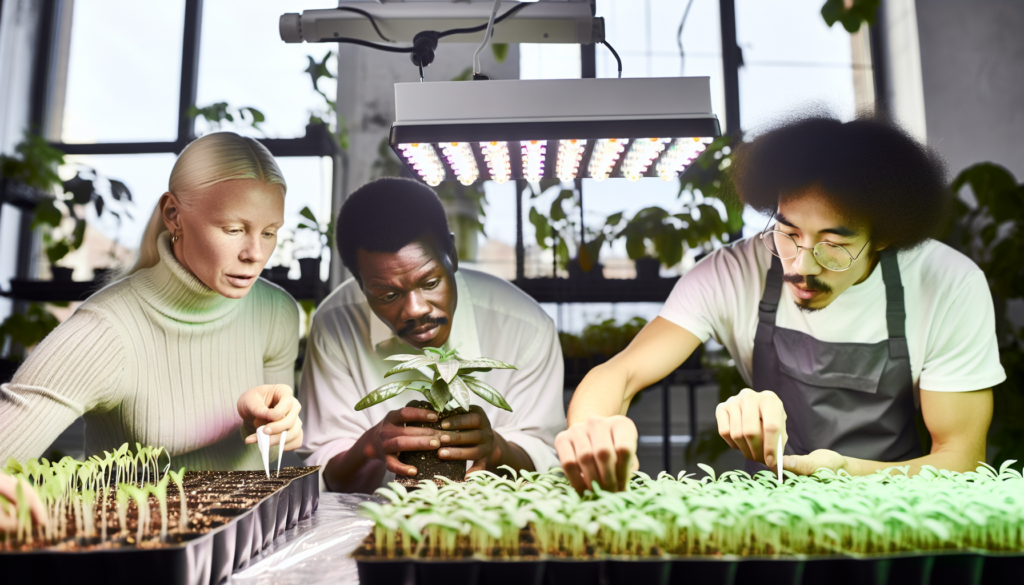
Setting Up Grow Lights
Light is a fundamental component required for plant growth. When starting seeds indoors, providing sufficient light is essential for their development. This is where grow lights come into play. Fluorescent lights are better than relying solely on natural light as they offer a more consistent and sufficient light exposure. Especially if it’s winter time and your place is dark.
When growing seedlings indoors, you can opt for grow lights made specifically for plants or standard fixtures with cool white fluorescent tubes. A mix of cool white and natural daylight tubes or bulbs provide good light for plants.
Keep the lights on for 12-16 hours a day to ensure the plants get enough light. And don’t forget those clear plastic domes over plant trays—they help retain moisture and light, which is beneficial for the plants’ roots.
Sowing Seeds Indoors
With the stage now set, we can proceed to the main event – sowing your weed seeds. Each seed is a potential plant waiting to grow, and how you sow them can determine their journey from a tiny seed to a robust plant as plants grow.
Let’s delve into the techniques of planting tiny seeds, managing newly planted seeds, and handling many seeds, all while ensuring we set them up for success.
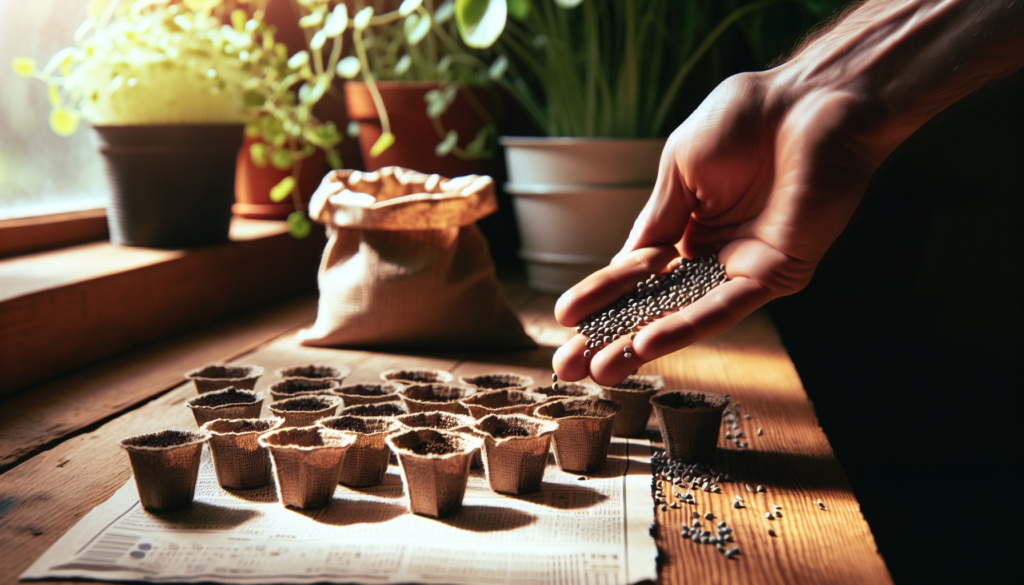
The Art of Planting Tiny Seeds
Planting tiny seeds requires a bit of finesse. Here are some tips:
- You can sprinkle several seeds into each cell of a seed tray for quick and even distribution
- For seeds that need light to germinate, ensure they make contact with the soil without being covered
- As a rule of thumb, plant tiny seeds at a depth that’s about twice their size
To ensure an even spread of tiny seeds, you can:
- Sprinkle them into each cell as you move along the seed tray
- Use a moist toothpick for precise placement
- Flatten the soil surface with a garden rake for consistent sowing depth
Tools like carrot tape, pelleted seed, planting templates, hand seed sowers, and push seeders can make the sowing process easier. But they’re totally optional.
Handling Larger Seeds
Handling bigger seeds is a slightly different ball game. To plant bigger seeds in a seed starting mix, follow these steps:
- Fill each container with the moist mix, leaving some space at the top
- Place the bigger seeds on top of the mix
- Press the seeds in a bit
- Cover the seeds with a thin layer of the mix
Plant the larger seeds about two to three times their diameter deep or whatever their seed packet says.
This will give them the best shot at growing nicely. Be mindful not to plant the seeds too close to the surface or too deep. If they’re too close to the surface, they might grow weak roots. If you bury them too deep, they might not even emerge from the soil or take longer to sprout.
Caring for Your Indoor Seedlings
The sight of your seeds sprouting into seedlings is undoubtedly thrilling. But the journey doesn’t end there! Proper care for your indoor seedlings is key to their healthy growth. This includes watering wisely, thinning seedlings, and providing adequate lighting.
Let’s examine each of these crucial steps for seedling care.
Watering Wisely
Watering holds a paramount position in the care regimen for your indoor seedlings. Here are some tips to follow:
- Initially, mist the soil to keep it moist until at least half to two-thirds of the seeds have sprouted
- Then switch to watering from below by filling your drip tray to cover about the bottom quarter of the cells
- Using room temperature water, check the seedlings at least once or twice a day to ensure they stay lightly damp
However, it’s also vital to avoid overwatering or underwatering your seedlings.
Overwatering can cause stunted growth with yellowing leaves, root rot, wilting, or waterlogging. Underwatering can lead to droopy or folded leaves and loss of rigidity in cells and tissues. Remember, the goal is to maintain a consistent moisture level without saturating the soil.
Thinning Seedlings
As your seedlings develop, you might observe that their containers are becoming a bit crowded. This is where thinning comes in. Thinning is the process of removing the weaker seedlings to give the remaining ones room to grow.
The best time to thin seedlings is when they have developed their first couple of true leaves, usually when they’re about 3 to 4 inches tall.
When thinning, remember to be gentle. Snip the extra seedlings at the base with a sharp tool instead of pulling them out leaving only the strongest seedling in each tray cell. This way, you won’t disturb the roots of the seedlings you want to keep.
Clean scissors or a cutting tool should be your go-to tools for thinning seedlings.
Addling lighting
Light plays a crucial role in the healthy growth of your seedlings. Once they’ve perked up and their first leaves have popped out, move the seedlings under a grow light. This ensures they get enough light, especially if they’re not getting much natural light.
For seedlings, start with LED grow lights about 6-12 inches above the plants. Seedlings need around 14 to 16 hours of light daily, so using a timer for grow lights is helpful as it lets you schedule when the lights are on, providing a more consistent and convenient light cycle. Remember to adjust the light distance as the seedlings grow to ensure they’re getting enough light without causing heat damage.
Keeping your seedslings warm
If you live in a cold area and your house or where you keep your seedlings is cool, consider a heat mat. These are handy and affordable little buggers that can help your soil get to the right temperature that tells the seed that “hey, it’s time to sprout”, it’s nice and warm.
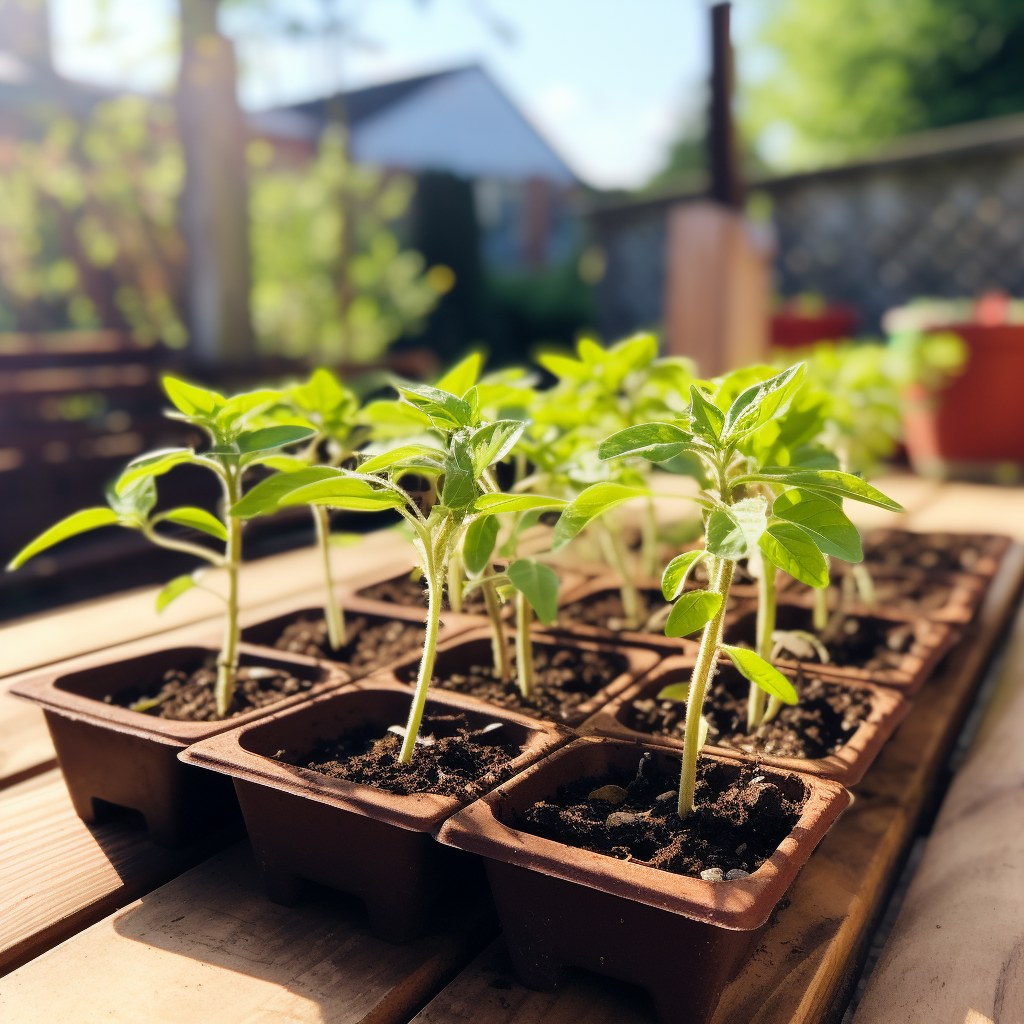
Transitioning Seedlings to Outdoor Conditions
After weeks of indoor nurturing, your seedlings are now ready to be introduced to the great outdoors.
This transition is more complex than simply relocating them outdoors. They need to be gradually exposed to outdoor conditions through a process called “hardening off”. This process involves a meticulous schedule that ensure your seedlings a good chance of survival upon transplant.
The Hardening Off Schedule
Hardening off is the process of gradually acclimating your seedlings to outdoor conditions. To ensure the best results, it’s recommended to begin this process 7 to 10 days prior to the final frost date for your specific area.
This timing will help to optimize the outcome. The aim is to slowly get your seedlings used to the outdoors by putting them outside for a few hours a day (assuming it’s not actually freezing outside – this would of course kill your vulnerable seedlings).
Over the course of 1-2 weeks, increase their outdoor time.
During the hardening off period, hold off on the fertilizer and water them a bit less to make them stronger before moving them outside. Hardening off is vital because it helps the seedlings grow stronger stems, thicker leaves, and become more resistant to wind, rain, and sun.
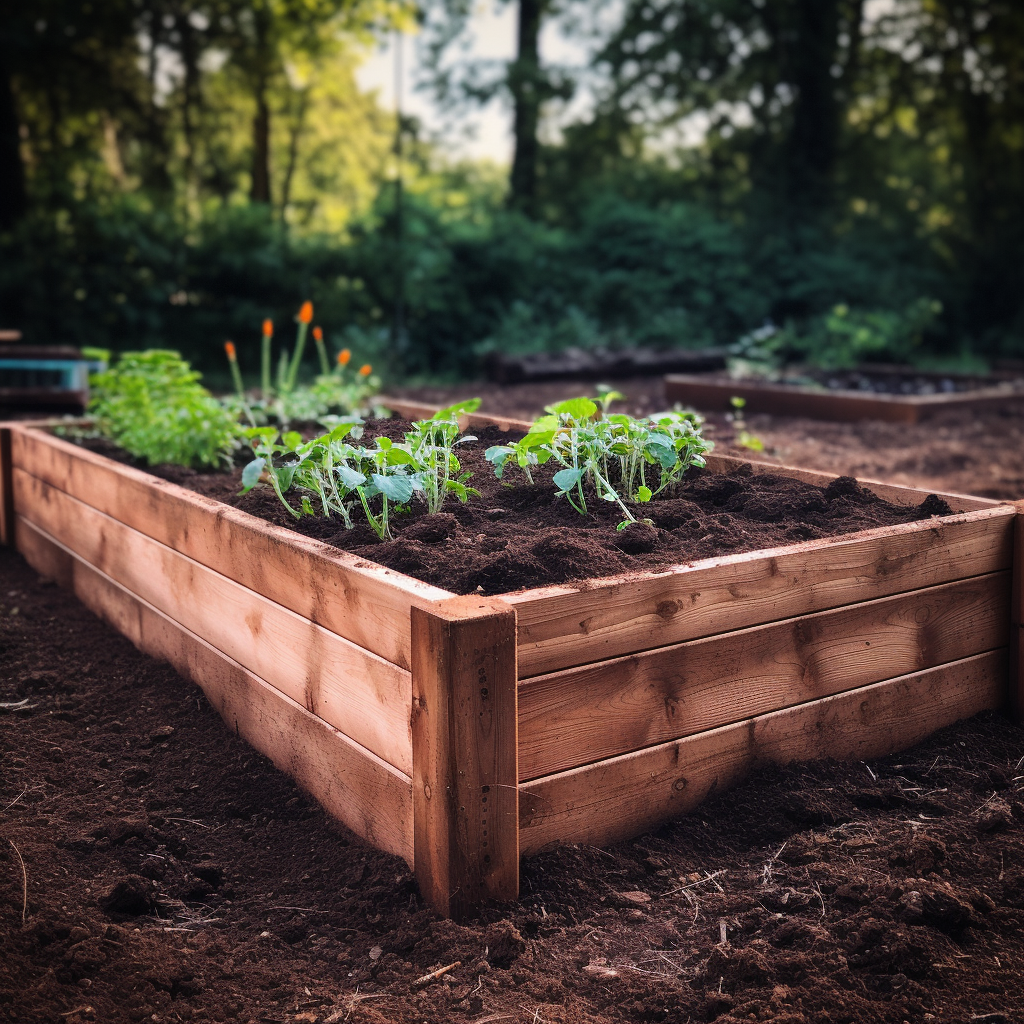
Transplanting Seedlings
Congratulations! Your seedlings are now prepared for their ultimate locations, be it a permanent indoor pot or a space in your outdoor garden.
The transplant seedlings process marks a significant milestone in their growth process. However, it’s not merely about relocating them. It’s crucial to understand the right timing and method for transplantation.
When to Transplant
Determining the right time to transplant your seedlings is paramount. The ideal time to transplant is once they get used to the outdoor conditions. But how do you know if they’re ready? Look for the first couple of true leaves—this means they’re mature enough for the big move.
When the time is ripe for transplantation, follow these steps:
- Ensure the soil is damp
- Dig a hole for the seedling
- Hydrate the pot
- Position the seedling so that its base lies beneath the soil level
And remember, if your garden gets too crowded, plants can end up with issues like legginess or diseases. So be sure to plant your transplants the correct space behind (once again, info found on your seed packet).
Starting seeds indoors might seem like a daunting task, but as we’ve seen, it’s a journey filled with excitement, learning, and immense satisfaction. From timing your seed start and understanding your seed packet to nurturing your seedlings and finally transplanting them, each step brings you closer to the joy of reaching your garden goals. Remember, every plant that grows from a seed you’ve sown is not just a plant—it’s a testament to your patience, care, and love for nature. So go ahead, sow those seeds, and let your garden flourish!
FAQs
What month should I start my seeds indoors?
To get a head start on your garden, start sowing your annual vegetable seeds indoors about six weeks before the last frost in your area or check the Rooted Reminders web app for detailed dates.
What is the best way to start seeds in the house?
Starting your seeds indoors is easy – just fill a large bowl with seed-starting mix, add some water to moisten the soil, sow your seeds and cover the tray before placing it under your lights on a heat mat.
What happens if you start seeds indoors too early?
Starting seeds too early can lead to bigger plants that need more space and resources, taking over your seed-starting area and costing you extra money for potting soil, organic fertilizer, and containers.
How often should I water my seedlings?
Water your seedlings every day or every other day to keep the soil moist but not saturated.
What is the hardening off process for seedlings?
Hardening off is the process of gradually transitioning your seedlings to outdoor conditions, starting 7-10 days before the final frost date