Succession Planting: How to Grow Crops for a Continual Harvest
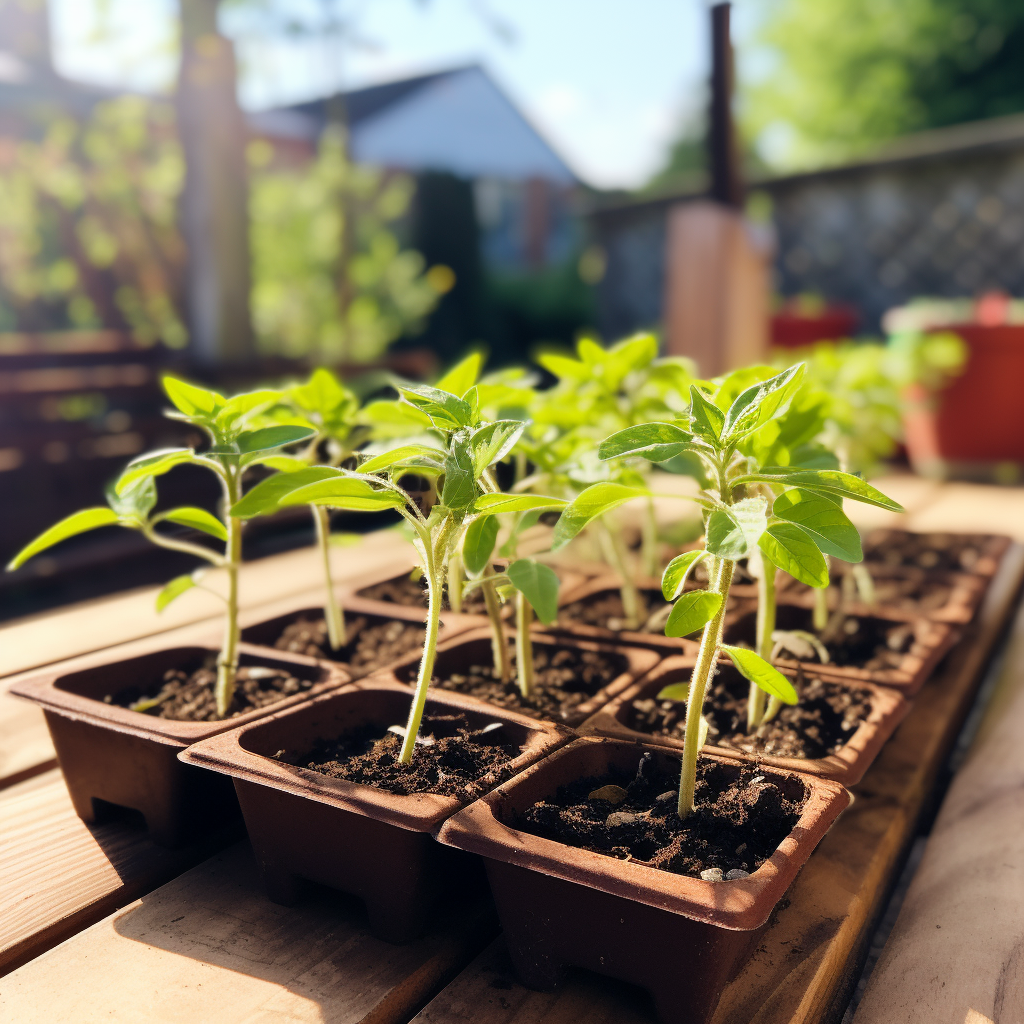
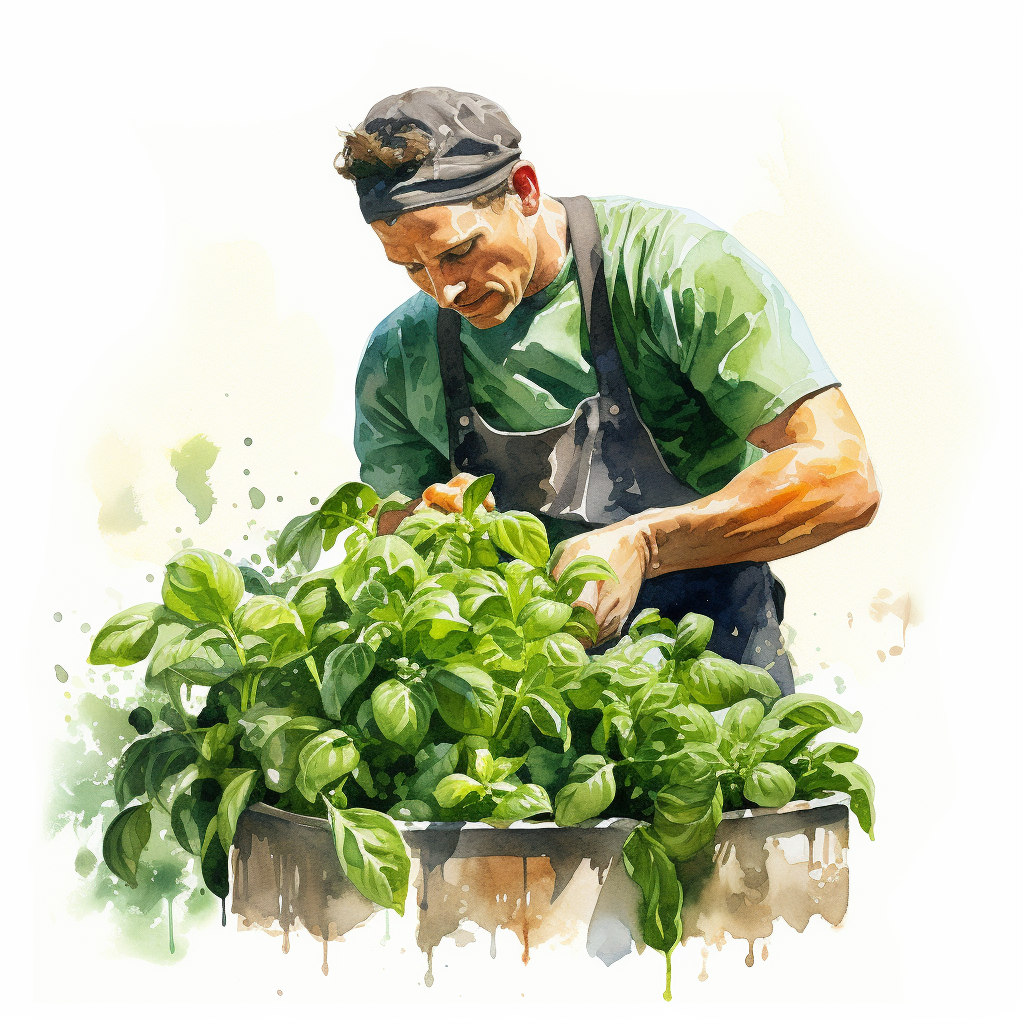
As a home gardener, you’ve likely experienced the disappointment of a bountiful harvest season giving way to a barren garden. But what if you could have a continual harvest and vegetable garden, with a steady supply of fresh vegetables and herbs throughout the growing season? That’s where succession planting comes in. Today, we’ll explore what … Read more